How to Repair and Remove a Vinyl Wrap
An increasingly popular trend these days is the wrapping of cars. Vinyl wraps offer you a range of colours far beyond what a manufacturer can offer as standard. However, there may be times where you need to know how to repair and remove a vinyl wrap, which this article will show you.
Wrapping your car gives the flexibility of changing the colour of your car, without paying for a full respray. Unfortunately, damage can sometimes occur. This may result in the wrap needing to be removed and replaced.
Vinyl signwriting commonly found on vans for advertising may also need to be removed. Much like paint, swirl marks can be inflicted into wraps. While these cannot be polished out, they can be lessened using other methods.
How to Repair Vinyl Wrap
Vinyl is a thermoplastic, meaning it can be reformed multiple times using heat. If swirl marks can be seen in the wrap, gentle application of heat will allow the plastic to reform to a flat and even surface, i.e. vinyl wraps are ‘self-healing’. This will not repair deep gashes into the wrap but may help to improve the gloss effect of the wrap.
Step 1 – Decontaminate The Paint
The first step is the ensure the surface is clean of any contaminants. Ideally, you should remove all former waxes and sealants to leave behind a bare surface.
Step 2 – Apply Heat
To apply heat, I tend to use a heat gun, but a hairdryer will do the job and will be a less risky option. Begin with the lowest heat setting and move the nozzle around, keeping it about 20-30 cm away from the surface. Do not hold the nozzle in one place, as this can burn the wrap.

Every couple of passes, feel the surface with the back of your hand, it should be hot, but not so hot you cannot touch it.
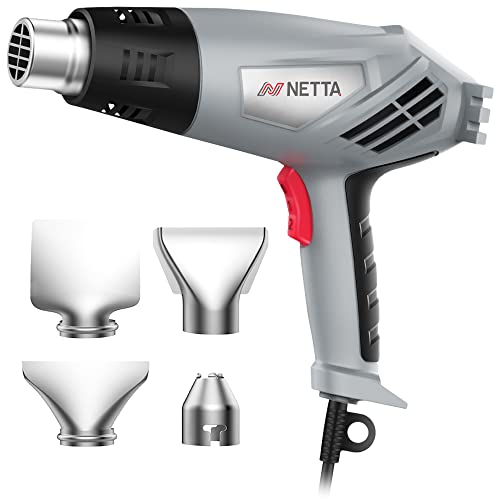
- POWERFUL: This NETTA Heat Gun has 2000W at its disposal meaning it can make lightwork of whatever jobs you may need it to do. This item has 2…
- MULTIPLE FUNCTIONS: This heat gun can be used for stripping paint, soldering pipes, shrinking PVC, removing rusted bolts, softening caulk around the…
- EASY TO USE: This product features a built-in stand which allows hands-free use. The balanced ergonomic design reduces fatigue when being used over a…
Step 3 – Repeat Until Blemishes Have Been Removed
Repeating this process several times should result in minor swirl marks gradually being removed.

Step 4 – (Optional) Perform Paint Correction
You can treat most vinyl wraps like paint in that, you can correct using a dual action polisher. You need to follow the same processes that you usually would to remove swirl marks, but bear in mind that vinyl wrap is not as durable as paint, meaning that you will need less pressure, passes and abrasives to repair the vinyl wrap.
How to Remove Vinyl Wrap
Removal of a vinyl wrap is usually quite a straightforward process, and once again will require the use of heat. Whether you are removing an entire section of wrap, or signwriting, it is best to start from a corner.
Step 1 – Use Heat
As above, warm the surface until it is warm to the touch, you can add more heat this time as you will be removing the wrap. Use your fingernail to pick a section of the wrap and gently start to work the wrap off, applying heat constantly to keep the adhesive soft.


If you are removing wrap from a door panel or the like, you might need to open the door to find where the wrap is tucked in and start from there. If you come across any stubborn parts, pause and reheat the surface. While unlikely to happen there is always the possibility paint could accidentally be removed.
Step 2 – Adhesive Remover
If heat does not seem to be sufficient by itself, you may find it useful to have adhesive remover to hand. Tar removers will also work for this, and you can find our recommendations for the best tar removers here, in the photo below, I’m using Koch Chemie Tew Tar and Glue Remover.
- 4260188681705
- 4260188681705


You will have to apply the solution at the point where the wrap and paint meet. Allow the glue remover to seep underneath the wrap, before continuing the removal.
Step 3 – Remove Glue Residue
Once the wrap is fully removed, there may still be some residue left on the surface. This can be removed by dabbing some glue remover onto the surface and gently removing with a microfibre cloth.
Step 4 – Correct Any Defects in the Paint and Protect
Polish and protect the paint and enjoy the original colour of your car!
Step 5 – (Optional) Machine Polish
If you have removed some signwriting, for example from the side a van, you will probably be able to see some ‘sign ghosting’ where the sign once was. This is notably a problem on older single stage paint and happens when UV exposure causes the paint to fade, but the paint under the wrap has been protected. This will require polishing to fix.

A machine polisher will be most effective but using a polishing compound like Meguiar’s Ultimate Compound by hand will greatly improve the look of the vehicle. If you do polish the vehicle, ensure you regularly wax the paintwork to prevent any future fading.
FAQ
Can vinyl wraps be buffed?
Can vinyl wraps be buffed?
Using the right products, yes. You can use a finishing polish with a soft finishing pad on a wrap. You should avoid using heavy cutting compounds on wraps.
How long do vinyl wraps last?
Depending on the manufacture, installation, and conditions the car is used in, wraps can last up to five years. A wrap on a daily driven car will begin to lift much sooner than a wrap on a garaged weekend car.
Can you pressure wash a wrapped car?
Yes, you can, but it is best not to use a hot water pressure washer to do so, as this can soften the adhesive. Ensure to keep the tip of the pressure water a safe distance from the surface and avoid blasting the corners of vinyl signs.