How to Remove Swirl Marks from Your Cars Paint
Swirl marks and scratches are the primary enemies of clear coat on your car’s paint. This becomes even more evident in vehicles with black or dark coloured paint.
Swirl marks are fine marrings in the surface of the clear coat. In other words, those pesky swirls (or micro-marring) are actually microscopic scratches.
With that in mind, it can be tricky to remove swirl marks from your car’s paint. This article will enlighten you on the proper ways to get rid of them. I will also debunk some myths regarding swirl marks and how to remove swirl marks from your cars paint.
How do swirl marks occur?
You might be surprised at the answer but, swirl marks are caused by improper cleaning and wiping techniques. You could potentially be creating swirl marks every time you wash or wipe the vehicle if you aren’t executing a proper wash technique.
Here are some of the most common causes of swirl marks:
Wiping dirty or dusty paint with a dry towel. This is one of the biggest mistakes you can do to your car. I see many people doing this on a regular basis. Dust and dirt are composed of irregularly shaped particles. The edges on the particles are sharp enough to literally cut or scratch the clear coat, hence the presence of swirl marks.
Wiping clean paint with a dirty towel. The same rules apply. Wiping freshly washed paint with a dirty or dusty towel is similar to rubbing sandpaper to your skin. The abrasive nature of dirt particles will cause swirl marks.
Cleaning the vehicle with a dirty wash mitt. Swirl marks are mainly caused by bad wash routines. The proper way to wash is to start washing the top portion or flat surfaces in the vehicle such as the roof, boot, and bonnet. The lower portion (or vertical parts) of the exterior are the places nearest to the ground. It will likely contain the most amount of dirt and contaminants.
Automated car washes or using stiff brushes to wash the vehicle. If you have a black or dark-coloured vehicle, do yourself a favour and stay away from automatic car wash joints. Those spinning brushes will wreak havoc to an otherwise pristine paint job.
How to Remove Swirl Marks and Scratches from Car Paint
It really doesn’t matter if you’re dealing with light or deep swirls, the only way to completely eradicate those nasty swirls is to polish the car. Other methods will only serve to mask or cover up the scratches using paint fillers, such as glazes for example.
While you can see good results if you do uses glazes and the like, the effect is only temporary. The swirl marks will reappear after a couple of washes. In most cases, all it takes is a heavy downpour!

In order to restore the smooth surface in the clear coat, you will need to use an abrasive product to shave off a microscopic section of the clear coat. This is the only way to flatten the surface and bring back a buttery-smooth and shiny finish!
There are two ways to do this: by hand or machine. Machine polishing is going to get the better results of the two, but you can polish by hand and cover up minor defects as well.
Removing Swirl Marks by Hand


- Super Resin car polish removes light scratches, scuffs and marks while providing long lasting protection and outstanding shine
- Easy to use car polishing product suitable for all paint types and all paint colors
- Buff to a deep shine with an Autoglym Hi-Tech Finishing Cloth or Mitt
If you have a vehicle that is relatively new or has minor defects as mentioned, most swirl marks can be removed by hand. The trick is to choose the right type of polish for the job.
One such product is the Autoglym Super Resin Polish which we have tested and reviewed before. Here are the results you should expect.
Traditional polishes are difficult to apply and may leave hazing on the paint. The Autoglym Super Resin Polish is formulated with silicone additives that makes it easy to apply and remove. It also contains specialized emulsifiers, paint conditioners, and wax to seal the finish while enhancing the colour and shine of the paint.
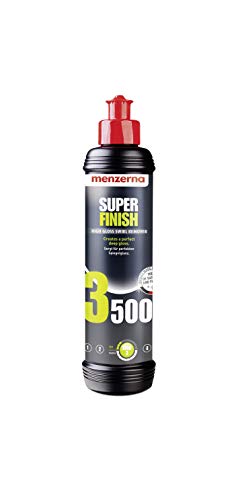
Car polish is generally divided into two categories: compounds and finishing polish. Popular compounding products such as the Menzerna Heavy Cut Compound 400 and Meguiar’s #105 Ultra-Cut Compound are formulated to dig deeper into the clear coat. These products are great for removing deep scratches, heavy swirl marks, oxidation, water spots, and heavy stains.
Finishing polish like the Autoglym Super Resin Polish and Meguiar’s #205 Ultra Finishing Polish are formulated with ultra-fine micro-abrasives. These products are excellent for finer scratches and swirls.


- DEEP GLOSS AND SHINE: Advanced polishing technology formula provides a deep gloss and rich swirl-free results
- NO MORE SWIRLS: Permanently removes swirls and light defects from all paint
- STUNNING SHINE: A professional car polish that produces deep reflections and a high gloss finish
Step 1
Wash the vehicle following a proper wash routine.
Step 2
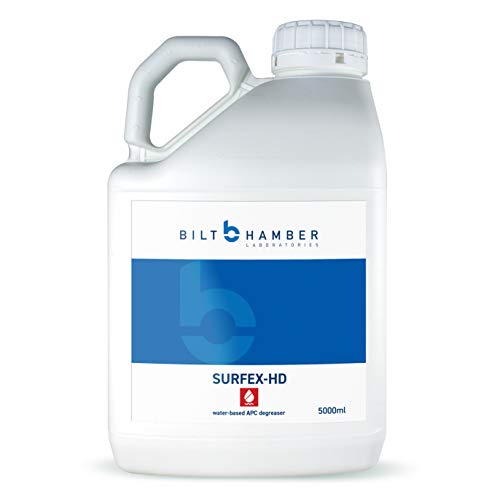
Inspect the paint. The most important step before polishing is to remove paint contaminants. If the surface feels rough and is peppered with tar spots or asphalt, it is better to treat the paint with fallout remover, tar and glue remover then a clay bar before applying polish.
Think about it this way: scratches and swirls are mainly caused by dirt and other abrasives, right? Polishing the paint without removing rough contaminants will only serve to add scratches and swirls as you wipe the paint with polish.
After washing the vehicle, use a clay bar to remove paint contaminants. I have a comprehensive article on how to use a clay bar if you’re not familiar with this procedure. You’ll also need clay lubricant to prevent the clay from scratching and marring the surface.
Step 3
After using a clay bar, the paint should be smooth to the touch. You can now begin the polishing process. Pour a 3-4 pea-sized dots of polish to a clean applicator pad. Apply the polish using small overlapping circles. Work with a small section at a time.
Similar to washing the vehicle, it is better to polish from the top-down. Start with the bonnet, roof, and trunk. Remember to apply polish as if applying lotion to your hands. Increase the pressure as you polish over visible swirl marks or dull patches in the paint.
Step 4
Unlike waxing, polish should not be allowed to dry on the paint. Before the polish gets a chance to dry out, wipe off the excess immediately using a clean microfiber towel. Turn the towel over and buff the surface lightly to reveal a glimmering finish.
At this point, use a flashlight to inspect the paint. If you still see signs of hairline scratches and swirls, you can apply more polish to the affected areas. Again, the secret to applying polish by hand is to never allow the product to dry before buffing off. It is also ideal if you have a bunch of clean microfiber towels in hand. If you accidentally drop the towel to the ground, grab a fresh towel before buffing the paint.
Step 5
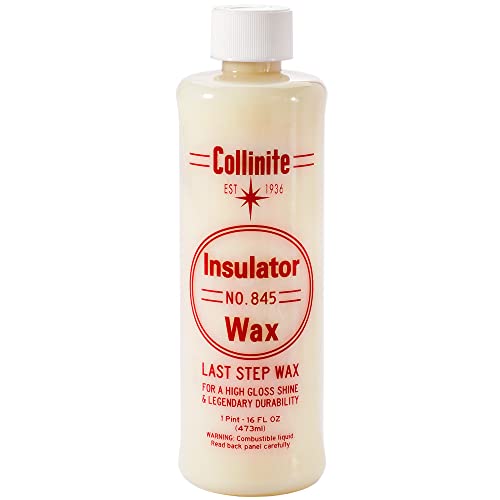
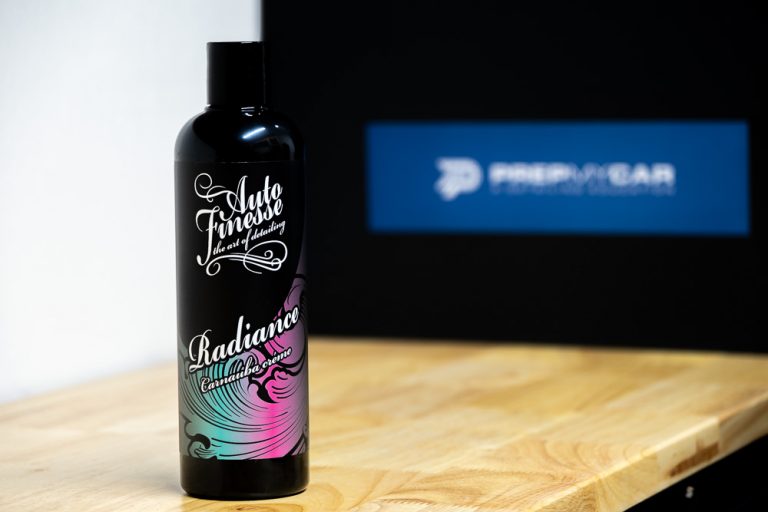
The last step is to apply a final coat of wax or sealant. Remember that polishing should always be accompanied by and LSP (Last Stage Protection) such as wax, sealants or ceramic coatings. The wax will seal the clear coat to prevent dirt and debris from settling on the paint. The wax will also add hydrophobic protection and gloss to the paint.
Removing Swirl Marks by Machine
In this method, you’ll need a DA (dual-action polisher). You can also use a conventional rotary polisher, but this tool is not intended for novice or beginners.
Dual-action polishers are safer to use and produce less heat on the surface of the paint. It does this by rotating and oscillating the polishing pad at the same time. A rotary polisher is generally more powerful and spins constantly at higher rpms. This produces a lot of heat which may inevitably burn or remove the paint from the metal.
Step 1
Only work with a freshly washed and clayed surface. Make sure there are no rough spots in the paint. Polishing over debris and contaminants will deeply scratch and add swirls to the paint.
Step 2
Apply two or three pea-sized drops of polish to the polishing pad. Use your finger to spread the polish on the entire surface of the polishing pad. The secret here is to saturate the polishing pad with the liquid polish. But not by much! This will help avoid slinging the polish over the paint as you buff the surface with the DA polisher.
Step 3
Turn the machine ON and select a lower speed setting. Start polishing the flat surfaces before proceeding to the doors and lower parts of the body. It is also ideal to start working with a single section at a time.
Step 4
Increase the speed of the DA polisher as you polish the finish. There is no set time for this, but a single section should be polished for at least 30 seconds. Deeper swirls or hard finishes will take longer to buff out.
Step 5
Remove the excess using a clean microfiber towel. Turn the towel over and buff to a high gloss. Repeat the process as needed.
Step 6
Apply a layer of wax to seal the paint. Remove the waxy haze using a clean microfiber towel.
Whilst polishing with a DA is a relatively straight forward process, I realise that it can be quite daunting to some. I recommend that you test out on an old car panel that you can pick up from the scrap yard relatively cheap. This will allow you to not only find out how the polish reacts with paint, but also how the DA handles. It’s also going to save you a lot of money should anything go wrong!
Will polish harm the paint?
Not necessarily. As long as you know what you’re doing, polishing will actually restore the colour and clarity of the finish.
Swirl marks and scratches are minor indentations in the clear coat. The paint in your vehicle is composed of many layers. The metal surface is covered in primer before applying the layer of colour. The clear coat is applied on top of the colour to protect the paint.
In truth, a clear coat is applied to enhance the shine of the finish, but the primary purpose is to provide a sacrificial layer of protection against UV rays, dirt, pollution, and environmental elements.
Rubbing an abrasive polish will remove a fine layer of the clear coat to get rid of nasty swirl marks. The result is a flawless shine with a smoother and finer consistency.
When should I polish my car?
Since polishing will shave or remove a fine layer of the clear coat, you should only polish your car at most twice a year, or before the start of the summer and winter seasons. Frequent polishing is not recommended since you can eventually burn through the clear coat and cause permanent damage to the paint.
But it’s not just a matter of when to polish. How you polish is more important. Always start with a freshly-washed and clayed surface before polishing. Choose your methods carefully, and always consider the general condition of the paint before buying the tools you need.
If you use a good LSP and maintain your car with a proper safe-wash method, a full polish and paint correction could last for years.