How To Fix Car Paint as a Novice
If you are new to the automotive detailing world, the vast amount of products and information can seem overwhelming. If venturing into machine polishing is not something you can or want to do, this article how to fix car paint as a novice should help.
The paint on your car is under constant bombardment from the elements. UV rays from the sun can cause oxidisation on the surface. Water spots, tree sap and bird droppings can cause etching into the paint, which cannot be removed using washing alone.
Add into consideration poor wash techniques used by dealers and many cheap car washes, and we begin to understand how paint can quickly lose the shine it had when it was new.
We are going to look at improving the gloss of the paint on your car by hand, using products readily available.
How To Fix Car Paint as a Novice – Step by Step Guide
Step 1: The Wash Stage
I do not have any statistical evidence to back this up, but I reckon that a great deal of damage caused to paint is caused by improper washing. Some major mistakes are not carrying out a prewash, using a brush or sponge to wash the paint, and using a dirty wash mitt, to name but a few.

These all cause swirl marks to be inflicted into the paint, which over time build-up to the point that light will not reflect off the surface evenly, giving a dulled appearance. Washing the car using a safe wash method will drastically reduce the amount of wash-inflicted damage.
If you are washing your car in preparation for carrying out some paint restoration, I recommend using Meguiar’s Wash Plus.


- It’s a car wash PLUS a whole lot more!
- Cleans tough dirt & grime
- Removes bugs & tar and removes light stains in your paint
This shampoo has micro-polishing abrasives in it and will strip away any old waxes that might be on the surface of the car. You don’t need to use a bucket for this shampoo, instead, spread some shampoo onto the surface of your wash mitt and wash the car as normal, remembering to rinse the mitt out after completing a panel. Safely dry the car using a plush microfibre drying towel.
Step 2: Decontamination
For best results, we now need to complete a decontamination of the paint. For a more in-depth look at this, check out our decontamintaion article.
Contaminants such as tar, iron fallout and tree sap build up on your paint and leave a rough surface. On a lighter coloured car fallout will be visible as small rust specks. These can be removed using dedicated chemicals and processes.

First up is tar removal. For more help on choosing a dedicated tar remover, check out this article. Most tar removers work similarly.
Dab a small amount of the product onto the affected areas, leave for the specified time and wipe away with a clean microfibre.
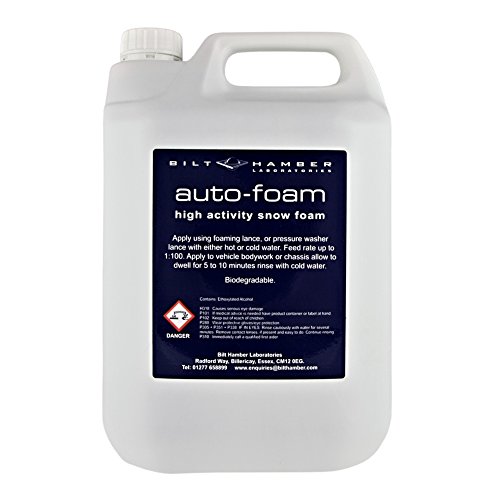
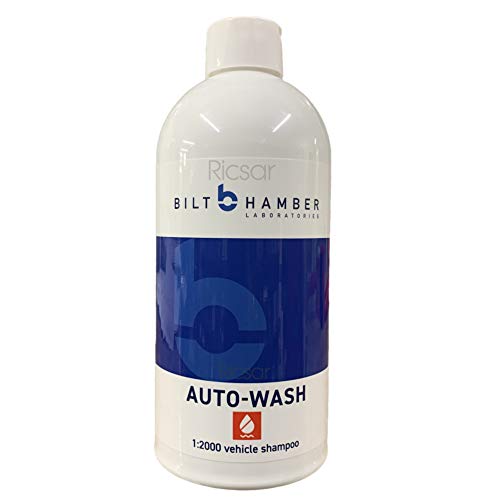
Next up is fallout remover. These turn red as they react with iron and allow for the contamination to be washed away. My personal favourite is Bilt Hamber’s Korrosol.


- Bilt Hamber Korrosol 1 Litre
- Brand : Bilt Hamber
- Product type: AUTO ACCESSORY
Apply liberally to body panels and allow to turn red. After a few minutes, or less if in direct sunlight, rinse away the residue.
If your paint still feels rough, you may need to use a clay bar to smooth the paint. For more information on how to use a clay bar, I’ll direct you to this comprehensive guide.
After completing the decontamination, give the vehicle a rinse to remove any residue before drying the paint once again.
Step 3: Polishing
This is the stage where we’ll see the biggest improvement in the paint. Modern paint is made up of three layers. A primer coat, a colour coat, and a clear coat, which is the thickest layer.
The hard clearcoat provides UV protection to the colour coat beneath, preventing bleaching of the paint. This layer is where most of the swirl marks and small scratches are located. By removing a small fraction of the clearcoat, we remove these scratches, leaving a flatter surface which will give a deeper gloss.

While that may sound alarming, polishing by hand is perfectly safe and is necessary to maintain your paint.
There is no shortage of polishes on the market. Most polishes that are designed to be used by hand also contain a glaze. These contain fillers that mask light imperfections in the paint, but more on these later on. Remember that polishes are different from waxes, so both steps are needed to protect a car.
A lot of elbow grease is required to remove scratches by hand, but it can be done.
One product I find works well by hand is Meguiar’s Ultimate Compound.


- Remove Paint Defects: The ultimate product for removing oxidation, scratches, water spots, and blemishes without scratching
- Cuts as fast as harsh abrasives restoring surface clarity without scratching or swirling
- Save time: The clear coat safe formula dramatically reduces the time and effort to restore abused or neglected paint finishes
Before you start, use masking tape to cover any rubber or plastic trim, as the polish will be hard to remove from these surfaces
Apply a small amount of product, about the size of a 10p (a quarter-size blob for our American readers), to a microfibre or a foam applicator pad. Work the product in overlapping motions, applying pressure to the pad.
Work in small sections, about 30 cm by 30 cm. Continue polishing until the product begins to turn clear, then use a clean microfibre cloth to remove the residue.
If your car has not been polished in a while, you should notice a great improvement here. Repeat this step around the car, it can be a tiring and time-consuming process, so as always, it is best to do this on a cooler day.
If you plan to polish the B-pillars on your car, check out this article for more help.
Step 4: Glaze
As I mentioned earlier, glazes fill in minor imperfections in the paint. They are a great way to enhance the gloss levels on a car if machine polishing is not available to you. Some ‘detailers’ will shun the use of glazes as they only mask defects rather than remove them, but for many, glazes are an excellent product to have.
The most famous glaze is arguably AutoGlym Super Resin Polish, which has been a reliable product for many years.

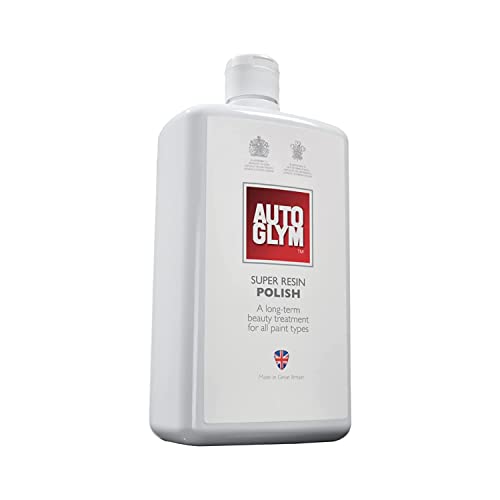
- Super Resin car polish removes light scratches, scuffs and marks while providing long lasting protection and outstanding shine
- Easy to use car polishing product suitable for all paint types and all paint colors
- Buff to a deep shine with an Autoglym Hi-Tech Finishing Cloth or Mitt for
If you have a darker coloured car, you might want to try Poorboy’s Black Hole glaze.


- Easy On / Off Paint Glaze
- For Dark Colour Paint ( Use Poorboys White Diamond for Light Paint)
- Fills Swirl Marks to leave Brilliant Glossy, Slick Show Shine
Glazes are applied in much the same way as polishes. Apply some product to an applicator and work into the surface of the paint. Allow the residue to haze and this will allow the product to properly bond to the paint. Buff away residue with a clean microfibre to reveal a deep show shine.

Step 5: Wax
Probably my favourite part of detailing. Wax will give the paint a layer of protection, offering gloss and hydrophobicity (water repellency). There are many waxes on the market. Each will offer slightly different properties, but the basic principle is the same.
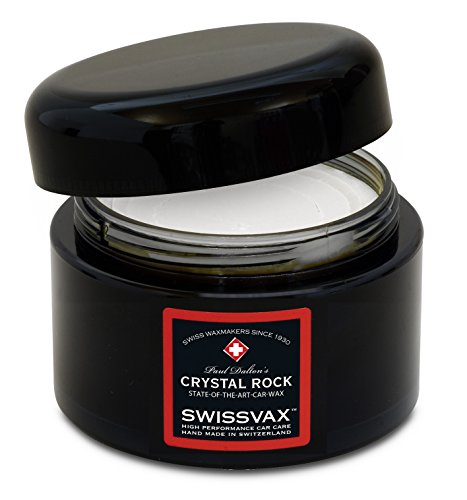
If you are looking for a wax with superb performance, deep gloss and excellent value for money, I recommend you look no further than Bilt Hamber’s Double Speed Wax.


- Easy to use last stage paste wax for the protection of highly finished automobile paint systems.
- The carnauba wax used provides a deep rich glossy, highly water repellent and detergent resistant film.
- Provides an economic and superior alternative to costly paste waxes which simply do not compete performance wise with this material.
This wax has a high carnauba content, which gives it the deep glossy look you want in a wax. At less than £20 for 200g, it is also fantastic value. 200g will go a long way – if you wax your car 4 times a year, one pot will still last a few years.
To apply paste wax, take a foam applicator pad and dampen it with water. Wring out as much water as possible before applying a small amount of wax to the pad.
To avoid picking up too much product, place the applicator onto the pad, without applying excess pressure and turn the pad through 90 degrees. This will pick up enough wax to do an area of at least a square foot, probably more. For best results, work on a cool panel away from direct sunlight.
Dab the wax onto the paint before gently working over the surface, again using overlapping motions. After leaving the wax to haze for no more than a few minutes, use a clean microfibre cloth to wipe away any residue. You can also apply a second coat of wax to give slightly greater durability. Wax should be reapplied 3 or 4 times a year to preserve the appearance of the paintwork.
I hope this article on how to fix car paint as a novice is some help to you.
A Final Word on Single Stage Paint
Older cars might have single stage paint, i.e. there is no clear coat. These paints will fade over time, red cars will turn pink, white cars will appear cloudy and so on.
These can easily be restored using a polishing compound and an applicator pad. Do not be alarmed if the pad goes the same colour as the paint, this is normal. After polishing, be sure to add wax or sealant to the paint to protect it from UV exposure.
FAQ
How do I restore oxidised paint?
Give the surface of the car a deep clean and use a clay bar if the paint feels rough. Use car polish to restore the paint to a deep shine and a wax for protection.
Should you wax or polish a car first?
Polish first, then wax. Polish is an abrasive so it would remove any wax you had added.
Can I wax my car without polishing?
Yes, you can if your paintwork is in good condition, but for best results, polish the paint first and then apply wax. Polishing will also give your wax a fresh surface to bond to.
Does polish protect a car?
Polish in its purest form will not contain any form of protection. In fact, it will remove it. Some polishes do contain wax, but it is always best to apply a separate layer of wax.